Instant Garden Transformation! Planting Thuja Trees and Hydrangeas
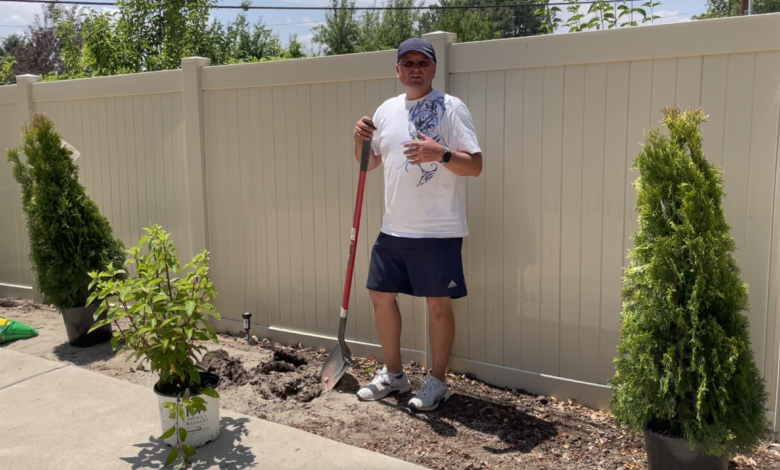
If you have an empty flower bed that you’re not sure what to do with, planting Thuja trees and Hydrangea perennials can instantly transform the space into a green, colorful and beautiful area. Thuja trees are evergreen and provide year-round interest, while Hydrangeas offer stunning blooms in the summer months and into the fall until it freezes.
In this post, we’ll go over everything you need to know about planting and caring for Thuja trees and Hydrangea perennials in an empty flower bed. From choosing the right location and preparing the soil to pruning and maintenance, we’ll cover all the essential steps to help you create a gorgeous garden space.
Step 1: Choose the Right Location
The first step to transforming your empty flower bed is choosing the right location. Thuja trees and Hydrangea perennials both prefer well-drained soil and partial to full sun. When selecting the spot for your flower bed, make sure it has good drainage and receives enough sunlight throughout the day.
Step 2: Prepare the Soil
Once you’ve chosen the location, it’s time to prepare the soil. Start by removing any weeds or debris from the area. Next, loosen the soil to a depth of at least 12 inches and mix in some compost or other organic matter to improve the soil’s nutrient content and water retention.
Step 3: Plant the Thuja Trees
After preparing the soil, it’s time to plant the Thuja trees. Dig a hole that is twice as wide as the tree’s root ball and deep enough so that the top of the root ball is level with the ground. Place the tree in the hole and backfill with soil, gently tamping down to remove any air pockets. Water the tree thoroughly after planting to help it settle in and establish new roots.
Step 4: Plant the Hydrangea Perennials
Once the Thuja trees are planted, it’s time to add the Hydrangea perennials. Dig a hole that is twice as wide as the root ball and deep enough so that the top of the root ball is level with the ground. Place the plant in the hole and backfill with soil, gently tamping down to remove any air pockets. Water the plant thoroughly after planting to help it settle in and establish new roots.
Step 5: Mulch the Bed
After planting, mulching the bed can help retain moisture in the soil and prevent weeds from growing. Apply a layer of organic mulch, such as shredded leaves or bark chips, around the base of the plants, making sure to leave a few inches of space around the trunk of each tree and plant.
Step 6: Water and Fertilize
Watering and fertilizing are essential for the health and growth of your Thuja trees and Hydrangea perennials. Water the plants deeply once a week, especially during hot, dry weather. Fertilize the plants in the spring and fall with a balanced fertilizer to provide them with the nutrients they need to grow and thrive. Hydrangeas take care and some extra watering to initially get established. Once they are established, your regular watering schedule is sufficient.
Step 7: Prune and Maintain
Pruning is essential for keeping your Thuja trees and Hydrangea perennials healthy and attractive. Prune the Thuja trees in the late winter or early spring to remove any dead or damaged branches and promote new growth. Prune the Hydrangea perennials in the late winter or early spring to remove any dead or damaged wood and shape the plant for the coming growing season.
In Conclusion
Transforming an empty flower bed into a beautiful garden space is easy with the right plants and care. By following these simple steps, you can create a beautiful garden with Thuja trees and Hydrangea perennials. Remember to choose the right location, prepare the soil, plant carefully, mulch, water and fertilize. Lastly, prune your Thuja tress and Hydrangeas in late fall or early spring for the best growth and flowering during the summer season.
We can’t wait to see your hydrangeas in bloom! Drop us a line or pic so we can share it with our community!

